How to Install Vaulted Ceiling Beams
Henry and Brooke with @Plankandpillow have always been a fan of including ceiling beams in a home. So much so that they installed them in their own home when they first built it. Safe to say that their all-time favorite design is vaulted ceiling beams whenever the space allows for them.
There are several different approaches you can take when doing vaulted ceiling beams, from the design to the type of beams you use. For both their home and the flip house they are currently working on, they decided to do wood box beams. They make installation much easier since they are so much lighter than solid wood beams.
The Plan
The first thing they did to plan for these beams was determine the layout. This included knowing how many beams would be needed and how far apart they needed to be.
For the ridge beam, they used two Rustic Ambrosia Maple 5×5″ beams, and for the rest, they used Rustic Ambrosia Maple 3×5″ beams. They stained all of the beams with Minwax Aged Oak stain.
You can read the full tutorial of how these beams were installed and what tools were used in their detailed blog post, or watch their video reel below.
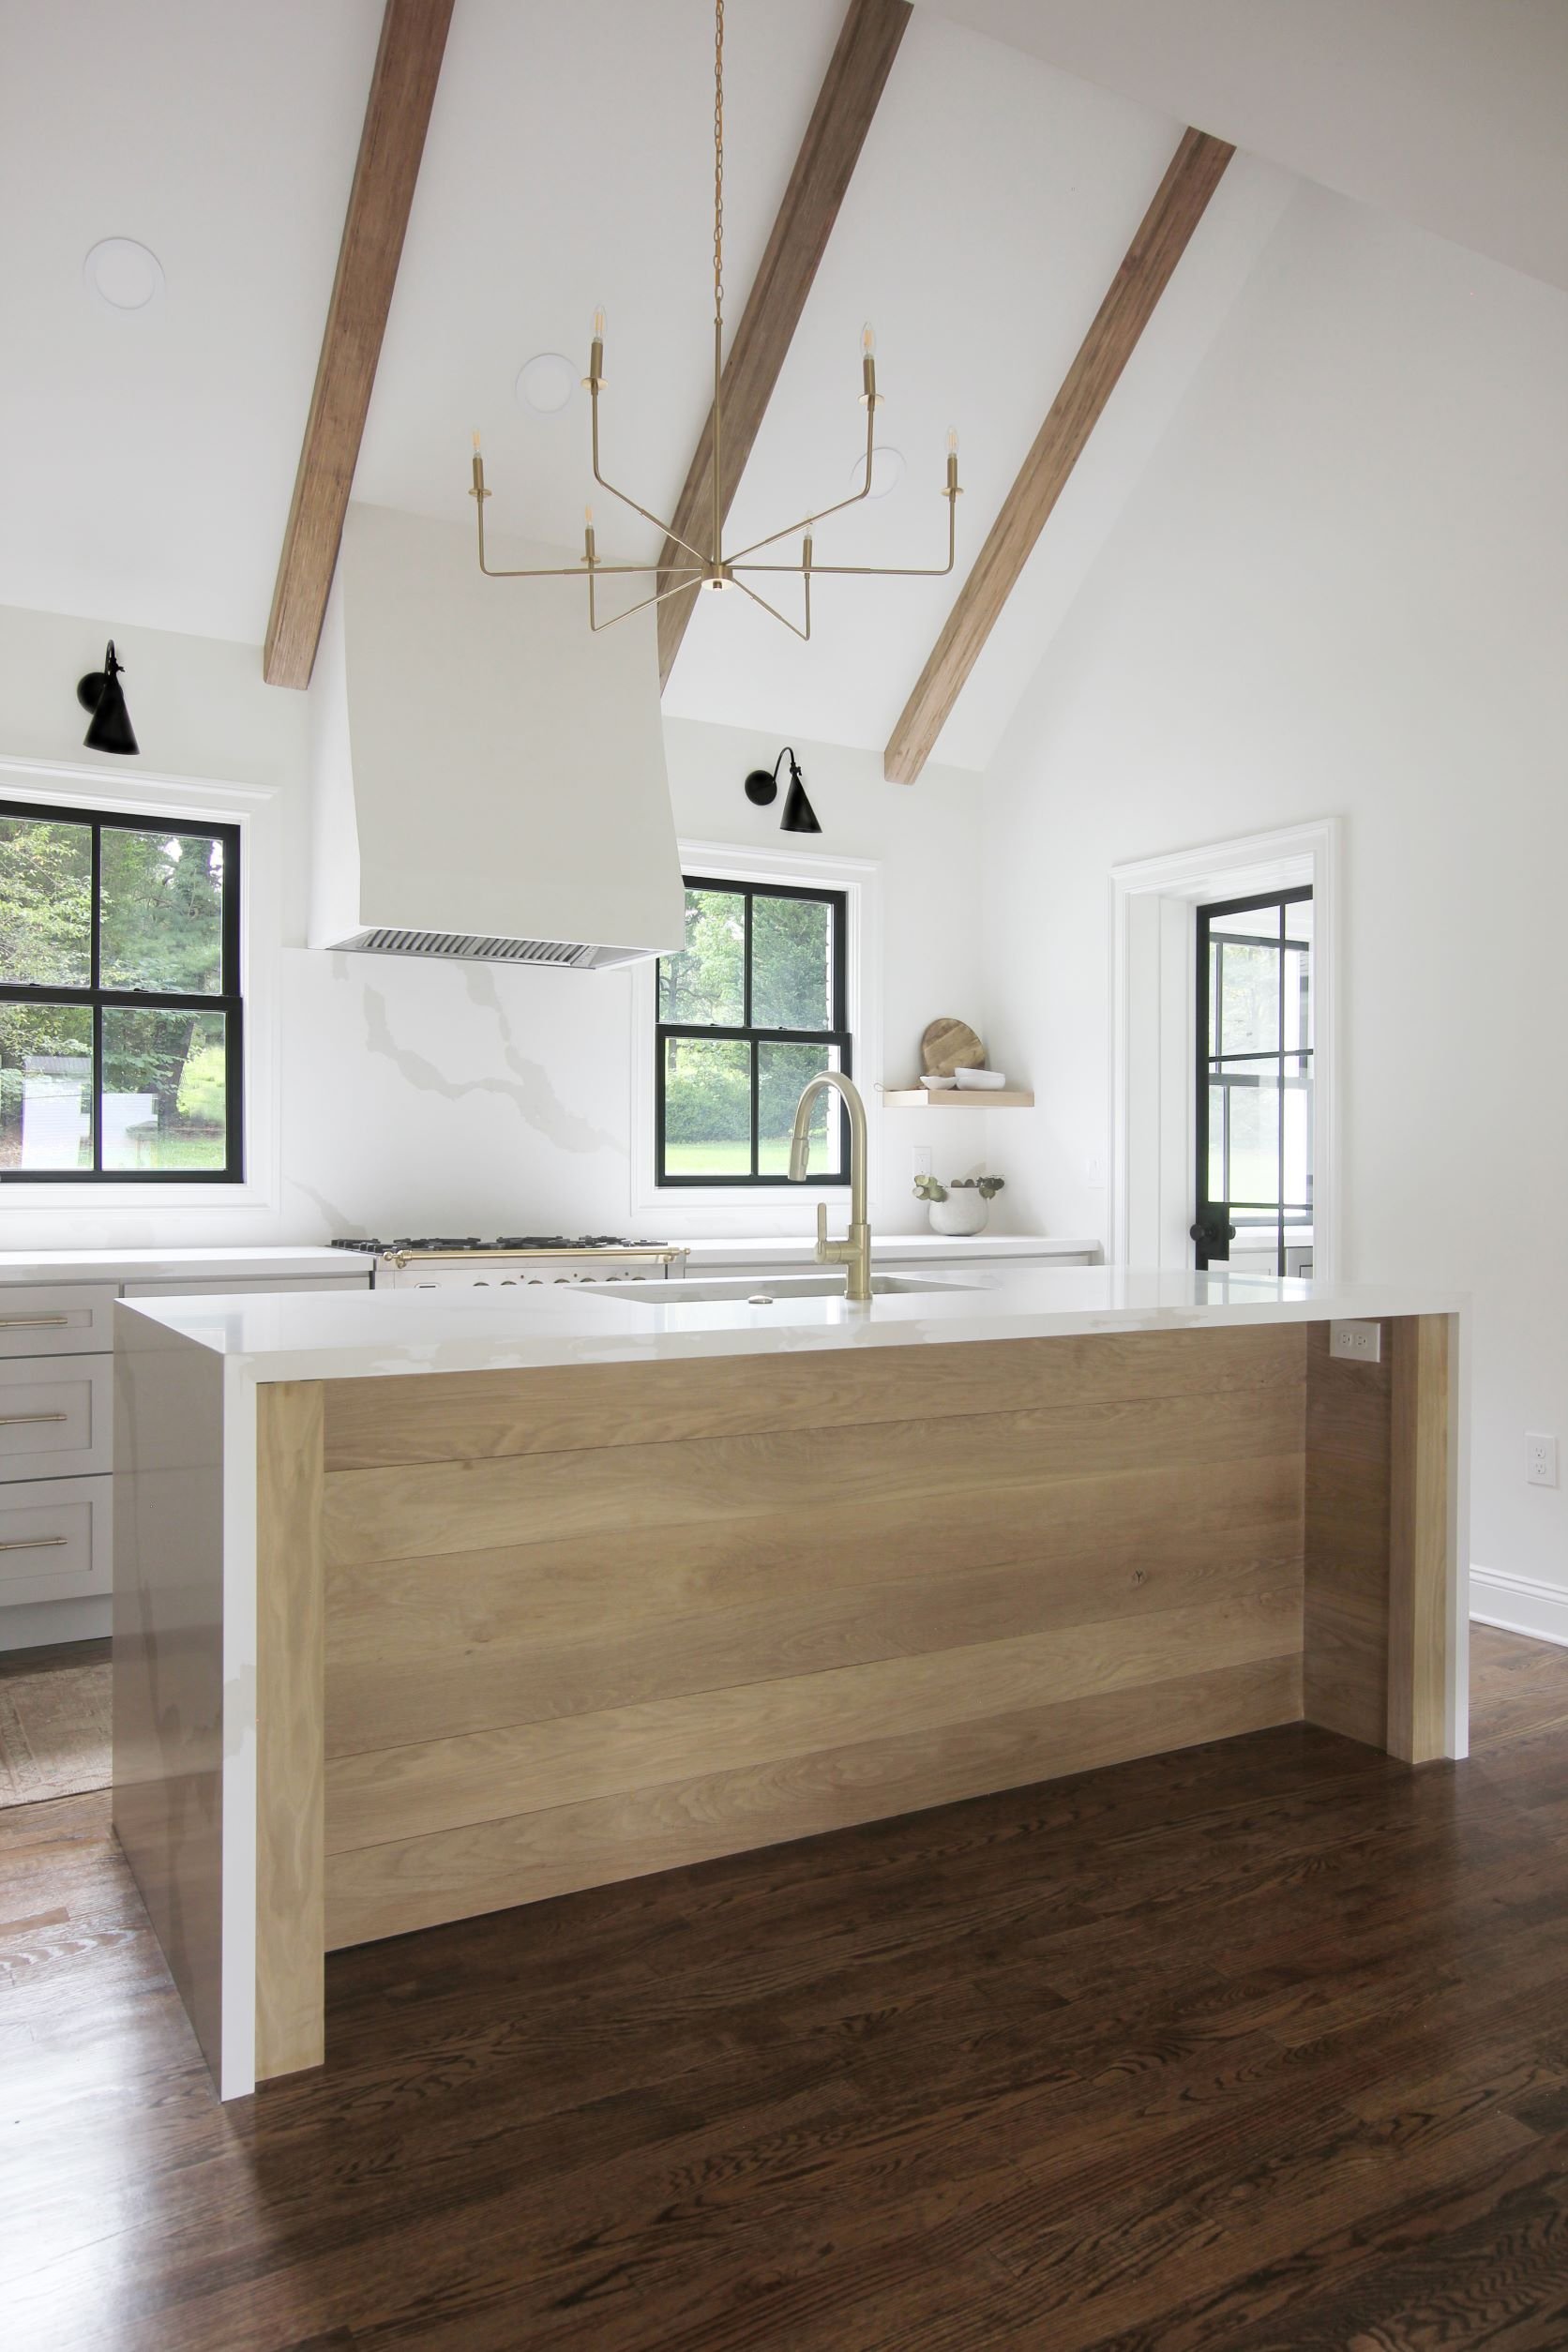
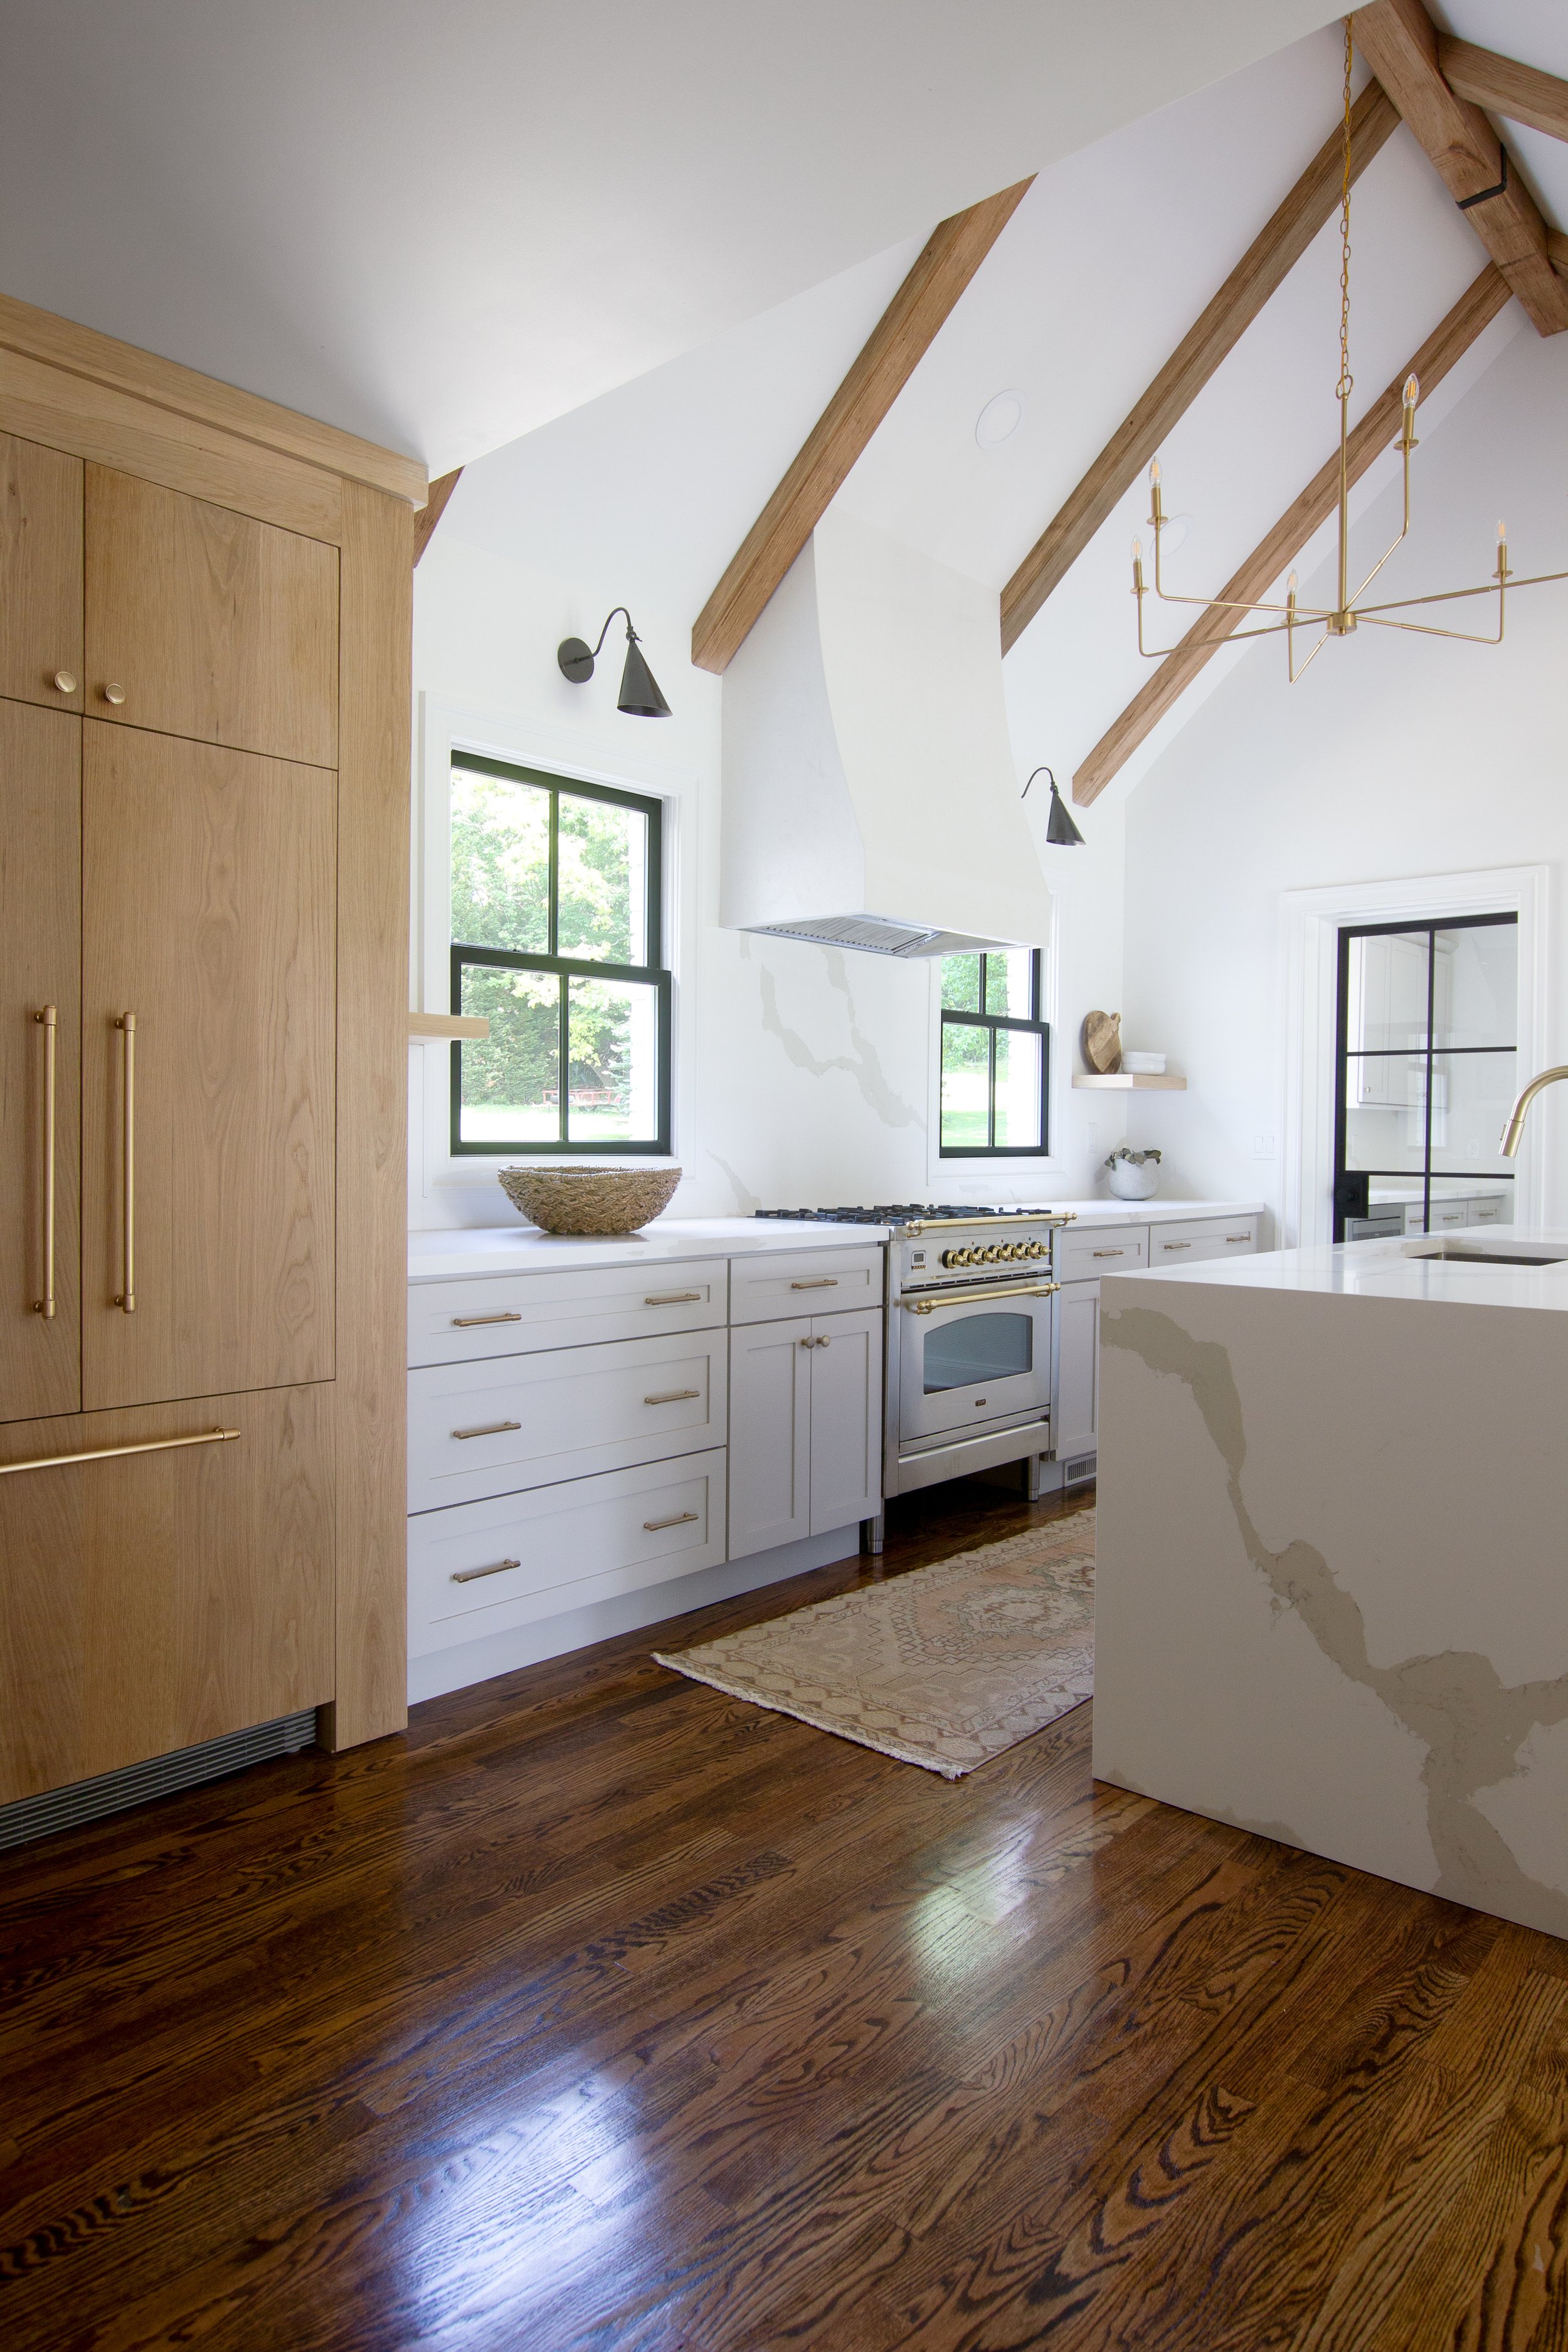
The Finished Space
Once all of the beams were installed, the space came together beautifully. They add such a nice warm wood tone to the open kitchen.
“If you haven’t noticed, we’re big fans for vaulted ceiling beams in a kitchen! These beams we installed in the flip house are by Ornamental Decorative Millwork and yes, they are real wood.”

Shop these beams at Lowes, Home Depot, and Wayfair, and check out even more inspiration on our Instagram page!