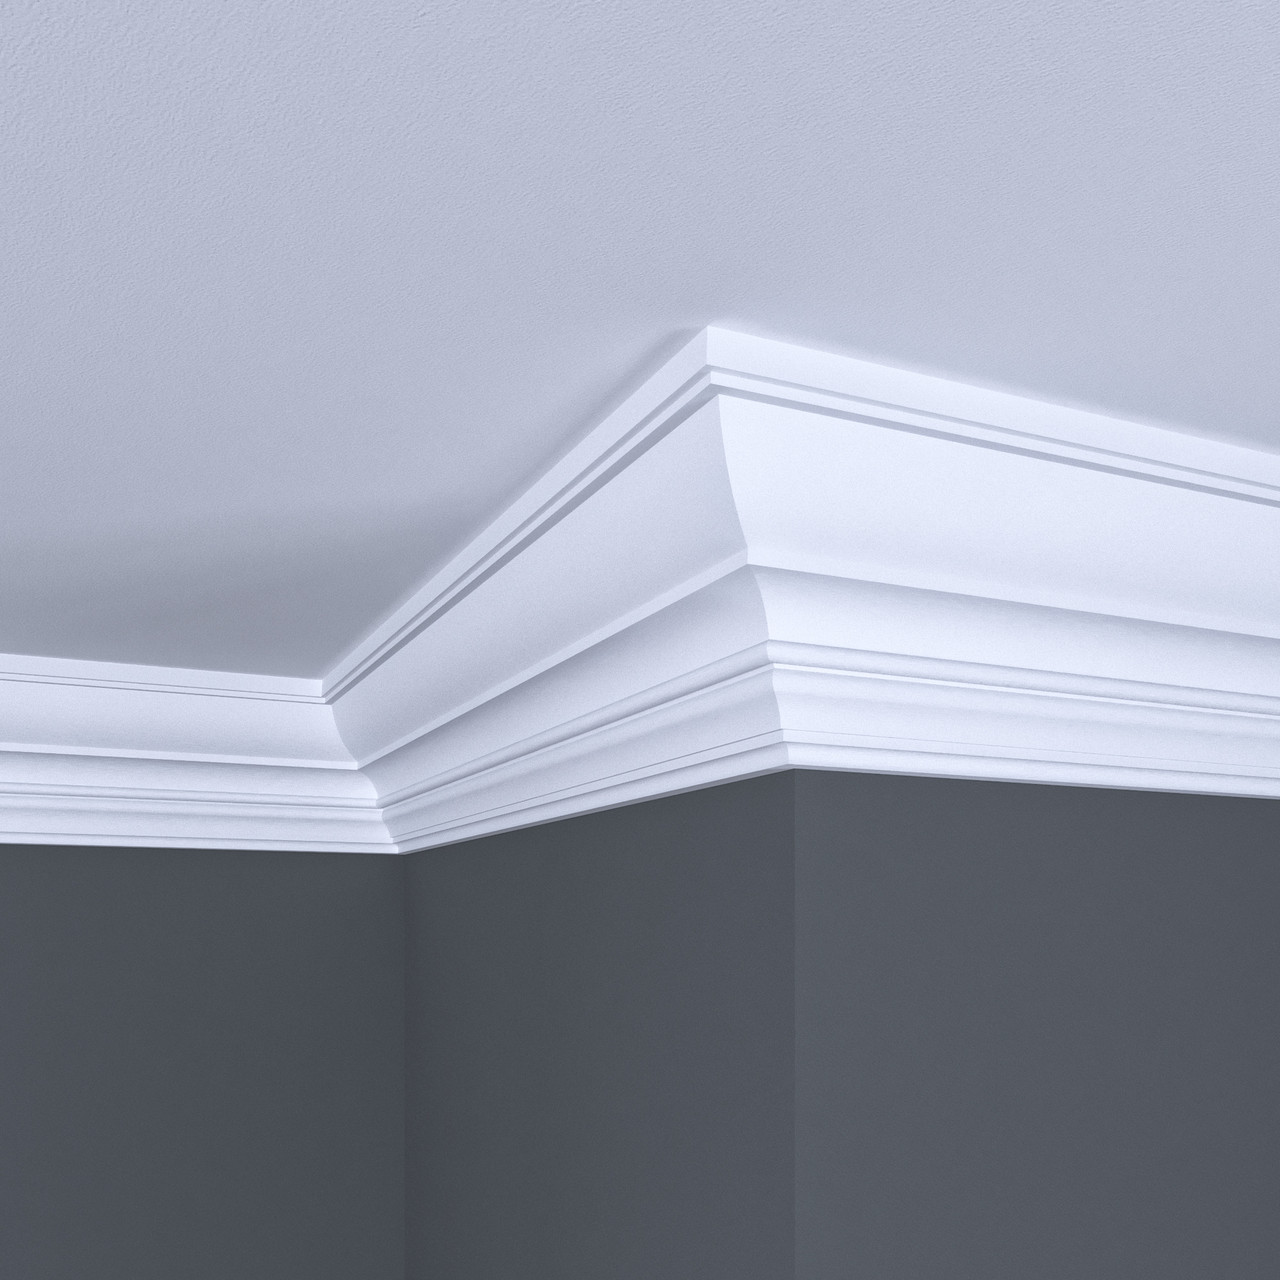
Exploring Crown Moulding Styles
Crown moulding can elevate the look of any room, and knowing the different styles available is key to making the right choice. The primary styles include traditional, modern, and flexible crown moulding. Traditional styles feature intricate designs, perfect for classic or period homes. Modern styles focus on clean lines and simplicity, complementing contemporary interiors beautifully. Flexible crown moulding is ideal for curved or irregular surfaces, offering adaptability where needed.
Your choice of style should reflect your desired aesthetic and harmonize with existing decor. Traditional moulding can enhance the grandeur of formal spaces, whereas modern styles bring a sleek touch to open-concept areas. Additionally, consider room proportions; larger spaces can handle bolder designs, while smaller rooms may benefit from more understated options.
Various materials are available for crown moulding, each offering distinct benefits. Wood provides a warm, timeless appeal, while polyurethane is lightweight and moisture-resistant. These materials influence the final look and feel, helping you find the perfect crown moulding to complement your home. Explore more crown moulding ideas to discover the potential of these materials.
Preparing for Crown Moulding Installation
Proper preparation is crucial for a successful crown moulding installation. Begin by gathering essential tools and materials, including a miter saw, measuring tape, level, stud finder, nail gun or hammer, wood glue, and safety goggles. Select your preferred crown moulding from our extensive range at ornamental.com.
Accurate measurement and planning are vital. Measure the room’s perimeter and account for corners and angles to determine your cuts. Sketch a diagram to visualize the layout and ensure you have all necessary lengths before cutting.
Safety is paramount during installation. Wear safety goggles to protect against dust and debris, and keep your workspace clear of obstacles. If using a ladder, ensure it is stable. Handle sharp tools like saws with care to avoid injury. With the right tools, thorough planning, and safety measures, you’re set for hanging crown molding with confidence. Discover how to install crown moulding safely and efficiently.
Step-by-Step Installation Process
Transform your room with crown moulding on walls by following these steps. Start by cutting and joining corners; use a 45-degree angle for inside corners and a compound miter cut for outside corners. A miter saw ensures precise cuts for seamless joints. Always dry fit pieces before making permanent cuts to avoid errors.
Choose the right mounting technique for your wall type. For drywall, adhesive or finishing nails suffice. Plaster or masonry walls require wall anchors or toggle bolts for secure mounting. Locate wall studs for added support and stability.
Finish the installation by filling gaps or nail holes with caulk or wood filler for a polished look. Finally, paint the moulding to match or contrast with your walls, using high-quality paint for durability. By following these steps, your crown moulding will not only enhance your space aesthetically but also stand the test of time. Learn more about how to install crown moulding for lasting beauty.

